Microsoft Publisher is an excellent program to create different prints. Including using it you can create various brochures, blanks, business cards, etc. We will tell you how to create a booklet in Publisher
Run the program.
How to make a booklet in Publisher
The introductory window is the following picture.
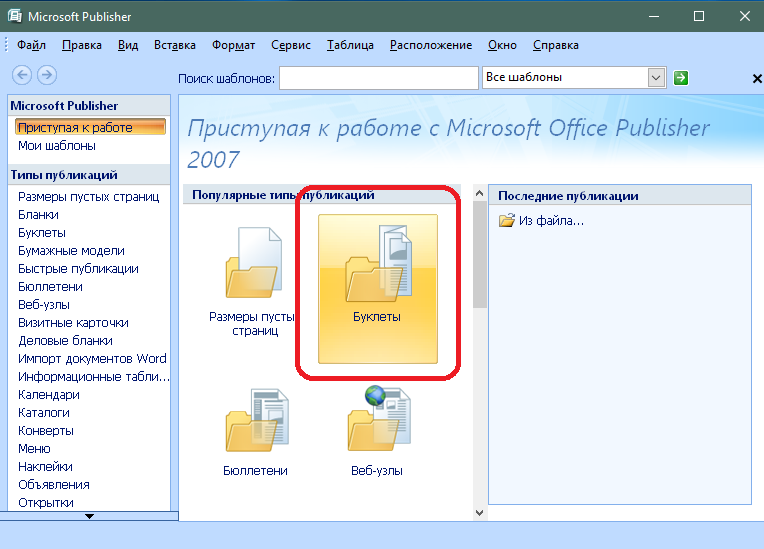
On the next program screen, you will be asked to choose a suitable template for your booklet.
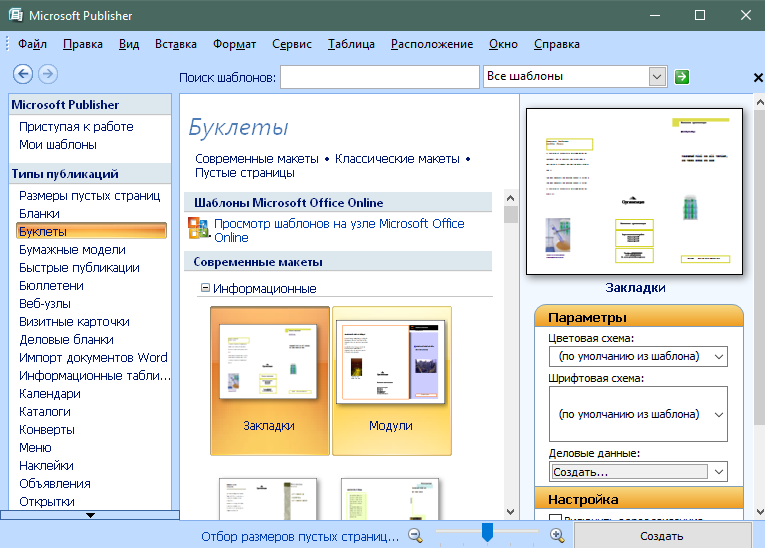
Select the template you like and click the Create button.
Booklet template has already been filled with information. Therefore, you need to replace it with your material. At the top of the workspace there are guide lines that mark the separation of a booklet on 3 columns.

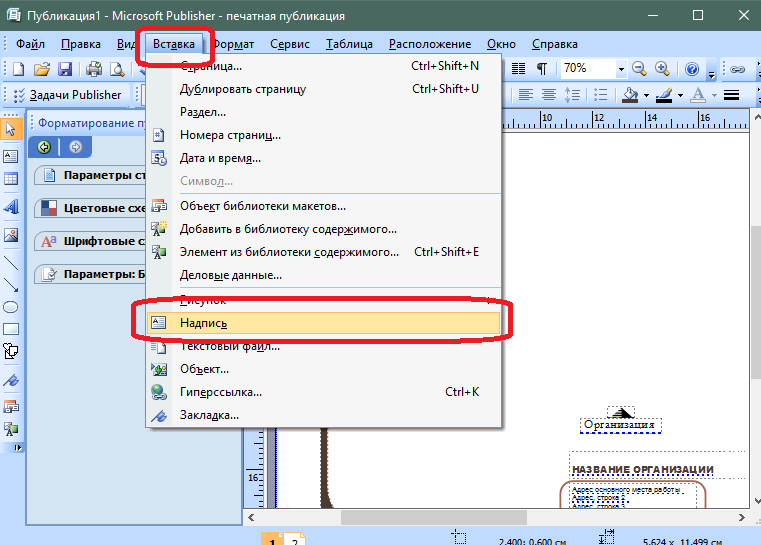
In order to add an inscription in the booklet, select the Insert menu item\u003e Inscription.
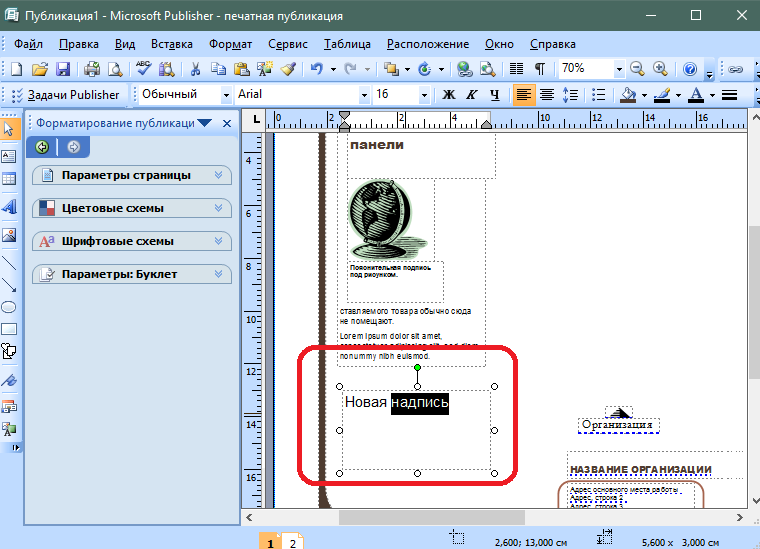
Specify the place on the sheet where you need to insert the inscription. Write the required text. Formatting text occurs in the same way as in Word program (through the menu from above).
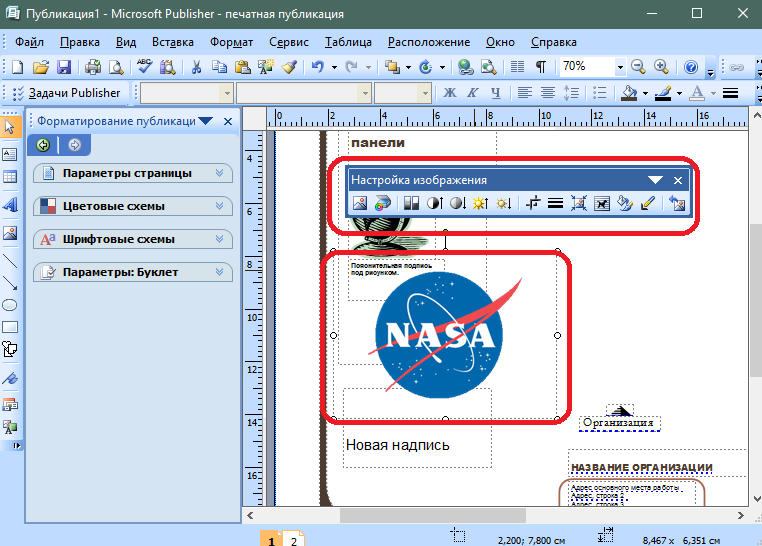
The drawing is inserted into the way, but you need to select the Insert menu item\u003e Figure\u003e From the file and select a picture on the computer.
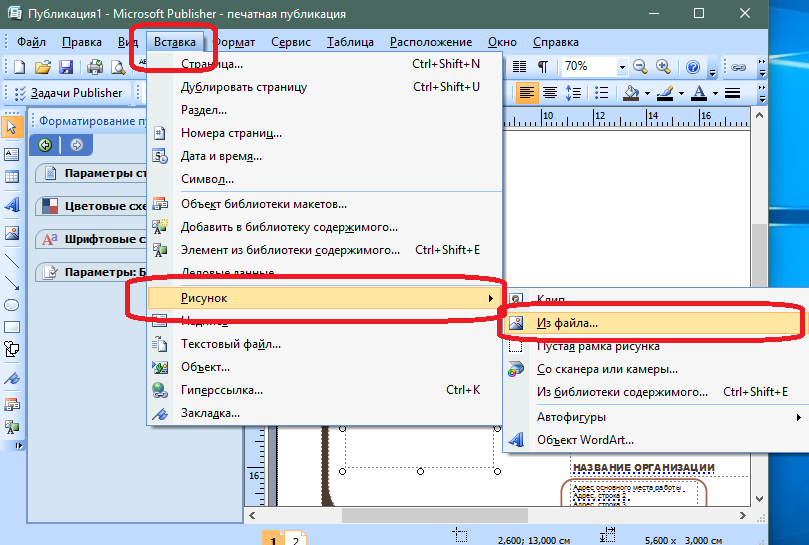
The picture can be configured after inserting by changing its size and color settings.
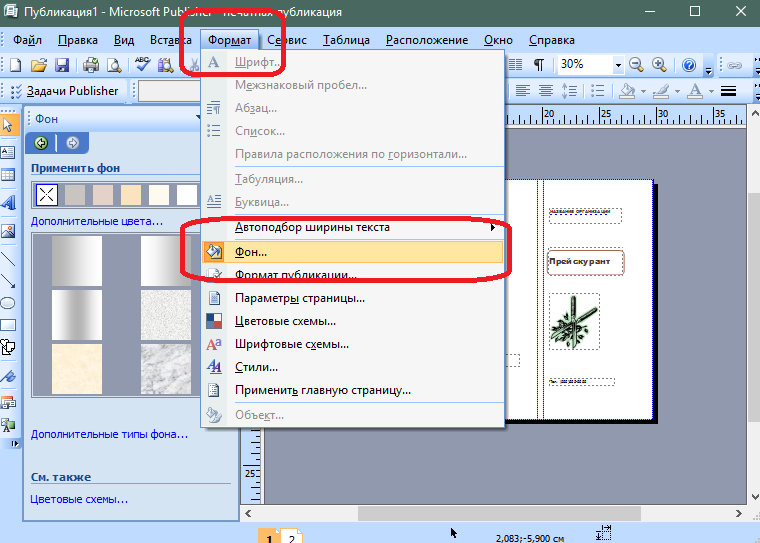
Publisher allows you to change the color of the backlet. To do this, select Menu Format\u003e Background.
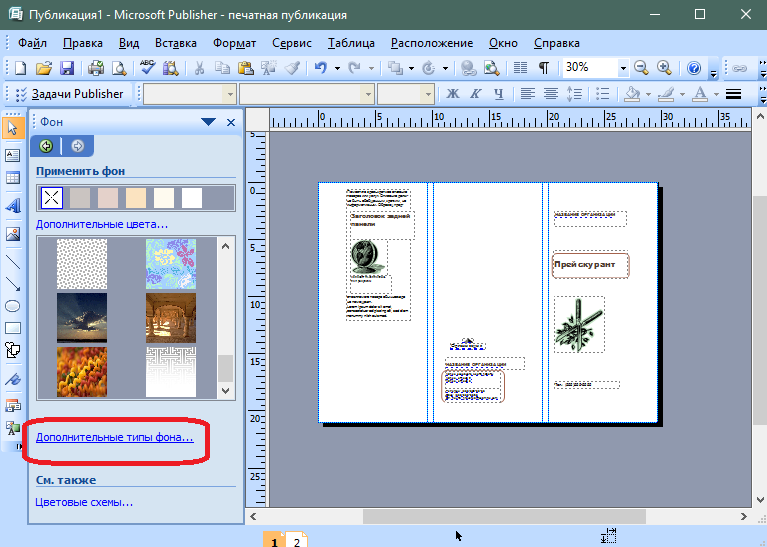
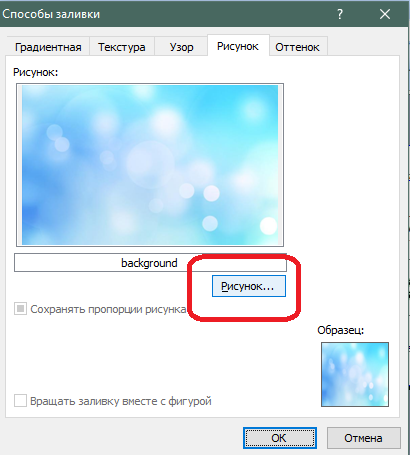
In the left program window, the form will open to select the background. If you want to insert your drawing as a background, select "Additional Background Types" item. Click the "Figure" tab and select the desired image. Confirm your choice.

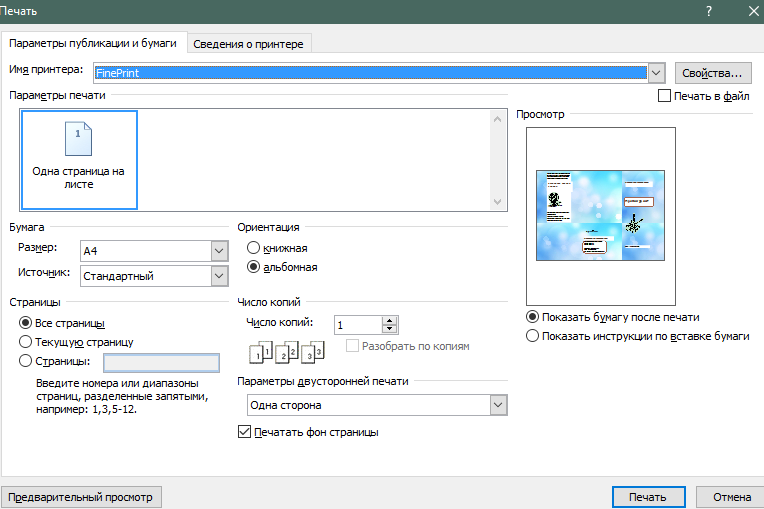
After creating a booklet, it must be printed. Go through the next way: File\u003e Print.
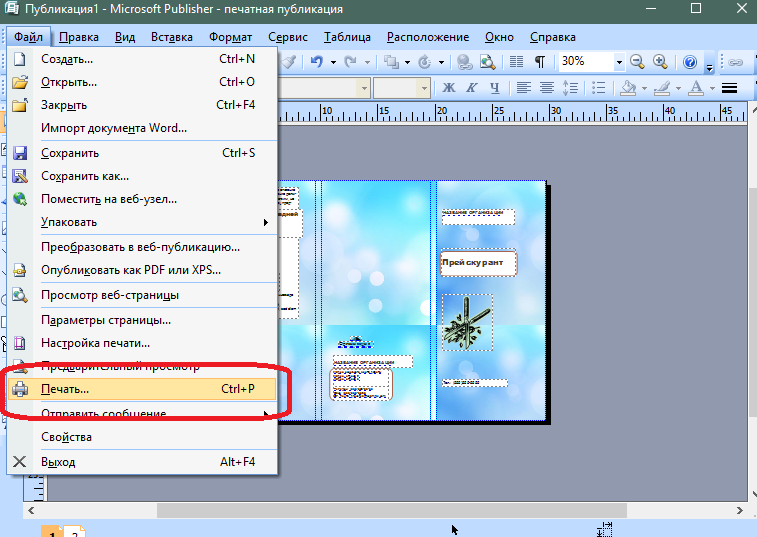
In the window that appears, specify the required parameters and click the "Print" button.